How to Clean a Makeup Sponge Without Ruining It
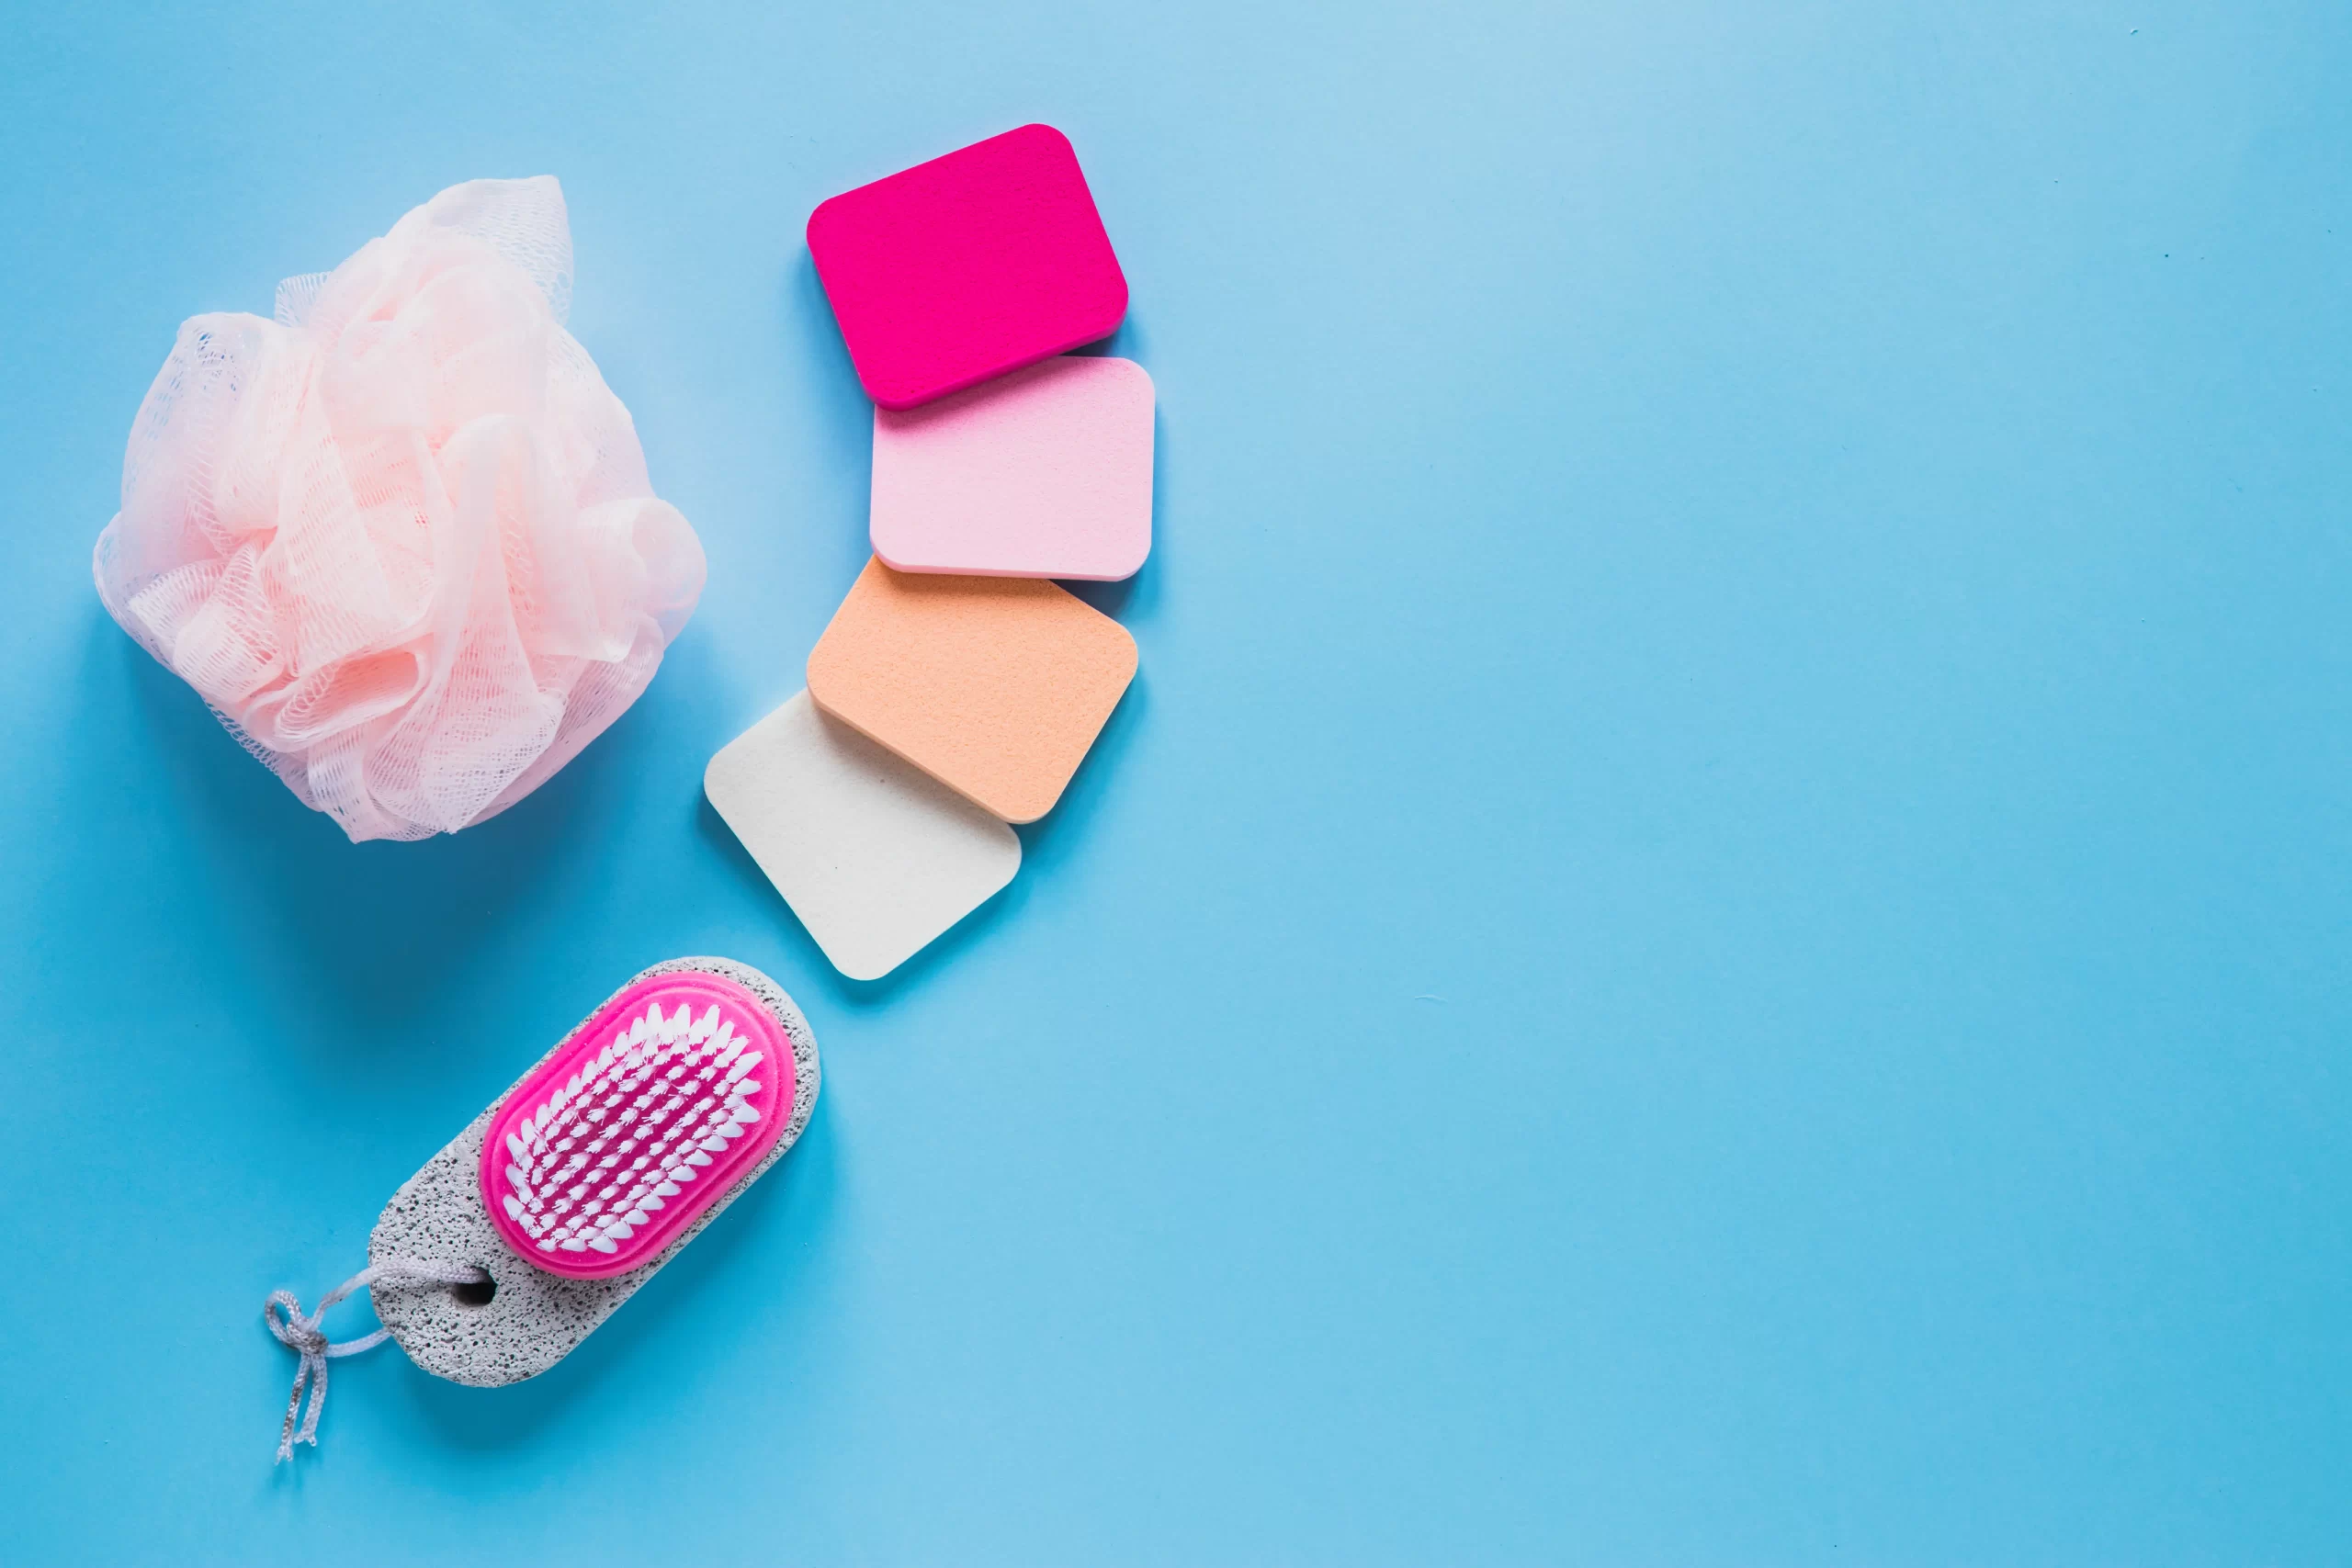
If you’re a beauty enthusiast, you’ve probably used makeup sponges to perfect your foundation or concealer. These small, versatile tools make it easy to achieve a flawless finish, but did you know they can quickly become a breeding ground for bacteria if not cleaned regularly? Cleaning your makeup sponges properly ensures a flawless makeup look and healthy skin. So this guide on how to clean your makeup sponge will tell you about the perfect cleaning method and expert tips for maintaining effectiveness and longings.

Why Keeping Makeup Sponges Clean is Essential 

Makeup sponges come in contact with your makeup products and the natural oils and impurities on your skin. Over time, they build up residue, leading to breakouts, irritation, and uneven makeup application. Experts have found that sponges harbor more bacteria than other makeup tools due to their porous nature. 
Dermatologist Dr Sarah Evans explains, Dirty makeup sponges can introduce bacteria to your skin, potentially causing acne, redness, and even infections like styes or impetigo. Maintaining their cleanliness is important for protecting the health of your skin, not simply for appearance.” 
Regular cleaning not only prevents skin issues but also helps extend the life of your sponge, saving you money on frequent replacements. 

Common Mistakes That Ruin Makeup Sponges 

Cleaning your sponge sounds simple it is enough, but common errors could ruin it or make the process less effective. Here are pitfalls to avoid: 

  • Using boiling water – Although hot water can help disinfect, it can break down the material, causing the sponge to tear or lose its elasticity. 
  • Scrubbing too harshly – Vigorous scrubbing can break the sponge apart faster. Always handle it gently. 
  • Skipping frequent cleaning – Waiting weeks between washes allows makeup residue and bacteria to accumulate, making the sponge harder to clean over time. 
  • Using the wrong products—Harsh soaps or detergents can degrade the quality of your sponge and, if residues are left behind, irritate your skin. 

Avoiding these mistakes will keep your makeup sponge in top shape and ensure it lasts longer. 

Step-by-Step Guide to Cleaning Your Makeup Sponge 

Wondering how to clean your sponge properly? Follow this easy and effective step-by-step guide for pristine results. 

Step 1. Gather Your Tools 

You will need warm water and a gentle cleanser (such as baby shampoo or a sponge-specific cleansing towel). You may want to have a small bowl or basin on hand to hold the warm water. It is important to gather all of your tools before cleaning your makeup sponges. This will ensure that you have everything you need and can work efficiently without any interruptions. You can use any gentle cleanser for this process, but it is recommended to use a baby shampoo or sponge-specific cleanser.

These products are designed to be gentle on the skin and not leave any harsh residue on your sponges. It is also essential to have a clean towel nearby. This will be used during cleaning. It is important to avoid transferring any bacteria to your freshly cleaned sponges each time. Having a small bowl to hold the warm water will make this process much easier for you. This will protect you from various germs.

Step 2. Wet the Sponge 

Submerge the sponge in running, warm water until it is completely wet. Avoid excessively hot or cold water as it may damage the sponge or make cleaning difficult. Once the sponge is moist, gently squeeze out any excess water. Though not moist, it should be damp.

Why Wet the Sponge?

Wetting the sponge before cleaning is essential for several reasons. Firstly, it helps to soften and expand the sponge, making it easier to use and more effective at removing dirt and grime. Secondly, a damp sponge can help prevent scratches or damage to delicate surfaces as it provides a gentle barrier between the surface and the scrubbing action of the sponge. Lastly, using a wet sponge can also aid in creating a lather when using soap or detergent for tougher cleaning tasks.

Other Tips for Using a Sponge

  • Use a separate sponge for cleaning dishes and another for household surfaces to avoid cross-contamination.
  • Rinse the sponge after each use and store it in an open, ventilated area to prevent bacteria growth.
  • Replace sponges regularly, ideally every 2-3 weeks, or when they smell or show signs of wear and tear.

Step 3. Apply Cleanser 

Apply a small amount of your chosen cleanser directly onto the sponge. If using bar soap, gently rub your sponge onto the soap surface.  Massage the cleanser onto your face in circular motions, starting from your forehead and working down to your chin. This helps remove dirt, oil, and makeup from the skin’s surface.
It is important to use gentle pressure when massaging the cleanser onto your face to avoid irritating or damaging the skin. Additionally, remember to clean the area around your nose and hairline, as these are often overlooked areas where dirt and oil can accumulate.
Once you have thoroughly cleansed your entire face, rinse off the cleanser with lukewarm water. Pat your face dry with a clean towel – do not rub as this can again cause irritation or damage to the skin.
After cleansing your face, you may notice your skin feeling tight or dry. This is normal, as the cleanser has removed excess oil and natural moisture. To combat this, use a hydrating toner and moisturizer to replenish and rehydrate your skin.

Step 4. Work It Through 

Massage the cleanser into the sponge using gentle squeezing motions. Avoid digging your nails into the material, as this can cause tears.  Using gentle circular strokes, rub the sponge onto your face.
It’s important to work through each step of your skincare routine with care and precision. This not only ensures that you are effectively removing all impurities from your skin, but it also allows for a more relaxing and enjoyable experience. As you massage the cleanser into the sponge, take a moment to focus on your breathing. Deep breaths can help relax your mind and body, making this step feel like a mini spa treatment.
When working the sponge onto your face, cover all areas, including the forehead, cheeks, nose, and chin. Remember to also gently massage around the delicate eye area, being careful not to get any cleanser in your eyes.
Once you feel you have thoroughly worked the cleanser into your skin, rinse off the sponge with warm water. You should see all of the dirt and impurities that were once on your skin now removed and trapped within the sponge.
Think of this step as a way to cleanse your skin and mentally prepare yourself for the rest of your skincare routine. Take this time to pamper yourself and enjoy the process.
After rinsing off the sponge, pat your face dry with a clean towel and continue on the next step in your skincare routine.

Step 5. Rinse Thoroughly 

Rinse the sponge under running water, squeezing out any soap and other debris, and rinse until the water runs clear. Repeat this process as needed to ensure a thorough cleaning.
You can fill a basin or sink with clean water and squeeze the sponge to remove any remaining sponge residue and dirt. This is especially helpful for sponges that are heavily soiled or have been used for tough cleaning tasks.
After rinsing, gently squeeze the excess water from the sponge and lay it flat to air dry. Do not wring or twist the sponge as this can damage its shape and fibers.

Tips for Maintaining Your Sponge

  • Rinse your sponge thoroughly after each use to prevent bacteria buildup.
  • Store your sponge in a well-ventilated area to prevent mold growth.
  • Replace your sponge regularly, especially if it smells or shows signs of wear and tear.
  • To avoid cross-contamination, use separate sponges for different cleaning tasks (e.g., one for dishes, and one for countertops).

Benefits of Keeping Your Sponge Clean

Properly cleaning and maintaining your sponge offers several benefits, including:

  • Extending the lifespan of your sponge: Regularly rinsing and drying your sponge can help it last longer.
  • Preventing the spread of bacteria: A clean sponge reduces the risk of harmful bacteria spreading to surfaces and dishes.
  • Saving money: By keeping your sponge in good condition, you won’t have to replace it as often, saving you money in the long run.

Step 6. Squeeze and air-dry

Gently squeeze out excess water with a clean towel. Avoid wring or twisting the sponge, which can ruin its shape. Keep it out of direct sunshine and heat sources and let it air dry in a well-ventilated room. This will prevent the growth of baci. Air drying is the best way to maintain the integrity of your sponge. It can take several hours to dry completely, so it’s important to plan and wash it if you have time. You can speed up drying by using a fan or placing the sponge near an open window. Wring out and air dry your makeup sponge after each use. This will not only help keep it clean but also extend its lifespan. With proper care, your makeup sponge can last for months.

Additional tips for caring for your makeup sponge

  • Store in a cool, dry place: After squeezing your sponge and air drying it, store it in a cool, dry place. Avoid storing in the bathroom where moisture can encourage mold growth.
  • Regularly wash: In addition to squeezing and air-drying after each use, clean your makeup sponge at least once a week, or more often if you use it daily. This will help remove the product or buildup of bacteria.
  • Replace when needed: Even with proper care, your makeup sponge will eventually need to be replaced. If you notice any rips, holes, or changes in texture that can’t be washed off, you’ll need to throw out that old sponge and get a new one.

By following these tips and incorporating them into your makeup routine, you can ensure your makeup sponge stays clean and in good condition. This will help you achieve flawless makeup application and keep your skin free of bacteria and breakouts. So the next you reach for your makeup sponge, give it some love and care. Your skin (and wallet) will thank you! Happy blending!

Maintenance Tips for Longer-Lasting Sponges 

Cleaning is only part of the equation; proper maintenance also extends your sponge’s lifespan. Consider the following tips to keep your makeup sponge clean and fresh between uses. 

  • Store smartly – Keep your sponge in a breathable container. Sealing it in an airtight case traps moisture, encouraging bacteria growth. 
  • Rotate sponges—If you use sponges daily, consider having a few backups to rotate between clean tools. 
  • Set a cleaning schedule, To avoid excessive build-up, Clean your sponge at least once a week. For everyday users, consider quick cleaning routines, like spot cleaning, between full washes.   

Following these tips and cleaning your makeup sponge regularly, you can enjoy a more hygienic beauty routine and get the most out of your sponges. Remember, a clean sponge is essential for flawless makeup application and healthy skin.  Never neglect this important step in your beauty routine! These simple steps keep your sponges clean, bacteria-free, and ready to use. Your skin will thank you!

Want to take it one step further? Try these expert tips: 

  • Use a brush cleanser – If you want to give your makeup sponges a deeper clean, use a brush cleanser specific to your makeup sponge. These products are often formulated without harsh chemicals or fragrances, making them a great option for cleaning your sponges.
  • Double cleanse – Try double cleansing your makeup sponge for a deeper clean. Start by using a gentle soap or cleanser to remove any surface dirt and build-up. Then, use a brush cleanser to remove all bacteria and residue from the air—when cleaning your makeup sponge, it’s important to use warm water rather than hot or cold water. Warm water helps open up the pores in the sponge, allowing for a more thorough cleaning.
  • Air dry properly – After washing your makeup sponge, let it air dry completely before using it again. Squeezing out excess water and placing it in a well-ventilated area will help prevent bacterial growth and keep your sponge in good condition.

Recommended Tools and Products for Cleaning 

Using the right tools and products can make all the difference in cleaning efficiency and your sponge’s durability. Professionals love these for keeping makeup sponges in optimal condition:

  • Beauty Blender Cleanser – A solid cleansing soap specifically designed for makeup sponges that are gentle yet effective. 
  • EcoTools Makeup Brush and Sponge Shampoo – Known for its eco-conscious and cruelty-free formula. 
  • Cleaning Pads – Silicone cleaning pads make it easier to work the cleanser into the sponge while being gentle on its surface. 
  • Microwave Cleaning Technique: To sterilize the sponge, place it in a microwave-safe bowl with hot water and a small amount of dish soap. Heat for 30 seconds.

Achieve cleanliness in your most important and flawless appearance

Properly cleaning and maintaining your makeup sponges is a small effort that pays big dividends. From improving your skin health to smooth makeup application, cleanliness is key to getting the most out of your beauty tools.
Do you have any tips or best practices we didn’t mention? Share your favorite sponge-cleaning method in the comments below! For more beauty tips, check out our latest. The content covers everything from cleaning your trends to how to apply makeup. Keep up the makeup, beauties!
Remember, taking care of your makeup sponges extends their lifespan and keeps them healthy and safe to use on your skin. The longer you can keep your sponges in tip-top shape, the more money you’ll save in the long run by avoiding frequent replacements.
But cleaning isn’t just about maintaining the quality of your sponges; it’s also a crucial step in keeping your skin healthy. Bacteria and oil can build up on unclean sponges, clogging pores and potentially causing breakouts. By cleaning your sponges regularly, you’re protecting both yourself and your investment.

FAQ’s

It is recommended to clean your makeup sponge after every use. This practice prevents makeup residue from accumulating and ensures a fresh application each time. Regular cleaning also extends the lifespan of your makeup sponge.

You can use various cleaning solutions to clean your makeup sponge effectively. Mild soap, baby shampoo, or specialized sponge cleansers work well. Avoid using harsh chemicals or bleach, as they may damage the sponge's material.

It is not recommended to clean your makeup sponge using a washing machine or microwave. The rough agitation in the washing machine and the high heat in the microwave can damage the sponge's structure and lead to ineffective cleaning.

Several signs indicate it's time to replace your makeup sponge. It's time for a new sponge if you see obvious signs of wear and strain, such as cracks or tears in the sponge. An unpleasant odor even after cleaning or difficulty in removing stains are also indicators that it's time to invest in a fresh sponge.

While alcohol can effectively disinfect surfaces, it is not the best option for cleaning makeup sponges. Alcohol can be harsh on the sponge material and may cause it to break down over time. Stick to gentle soap or cleansers to clean your makeup sponge effectively.

We will be happy to hear your thoughts

Leave a reply

BeautyGlosy
Logo
Compare items
  • Total (0)
Compare
0