How to Remove Skin Tags in One Night Without Pain
Skin tags—harmless but annoying patches of skin—can sometimes feel like unwelcome guests. They pop up in annoying places like your neck, eyelids, or armpits, and while they’re not harmful, they can still affect your confidence and comfort. If you are looking for a quick and painless way to remove skin tags overnight, you have come to the right place. This guide will tell you about a revolutionary method to remove skin tags in just one night from the comfort of your home. We’ll also cover all the important details, from preparation to aftercare so that you can confidently say goodbye to skin tags.
What Are Skin Tags?
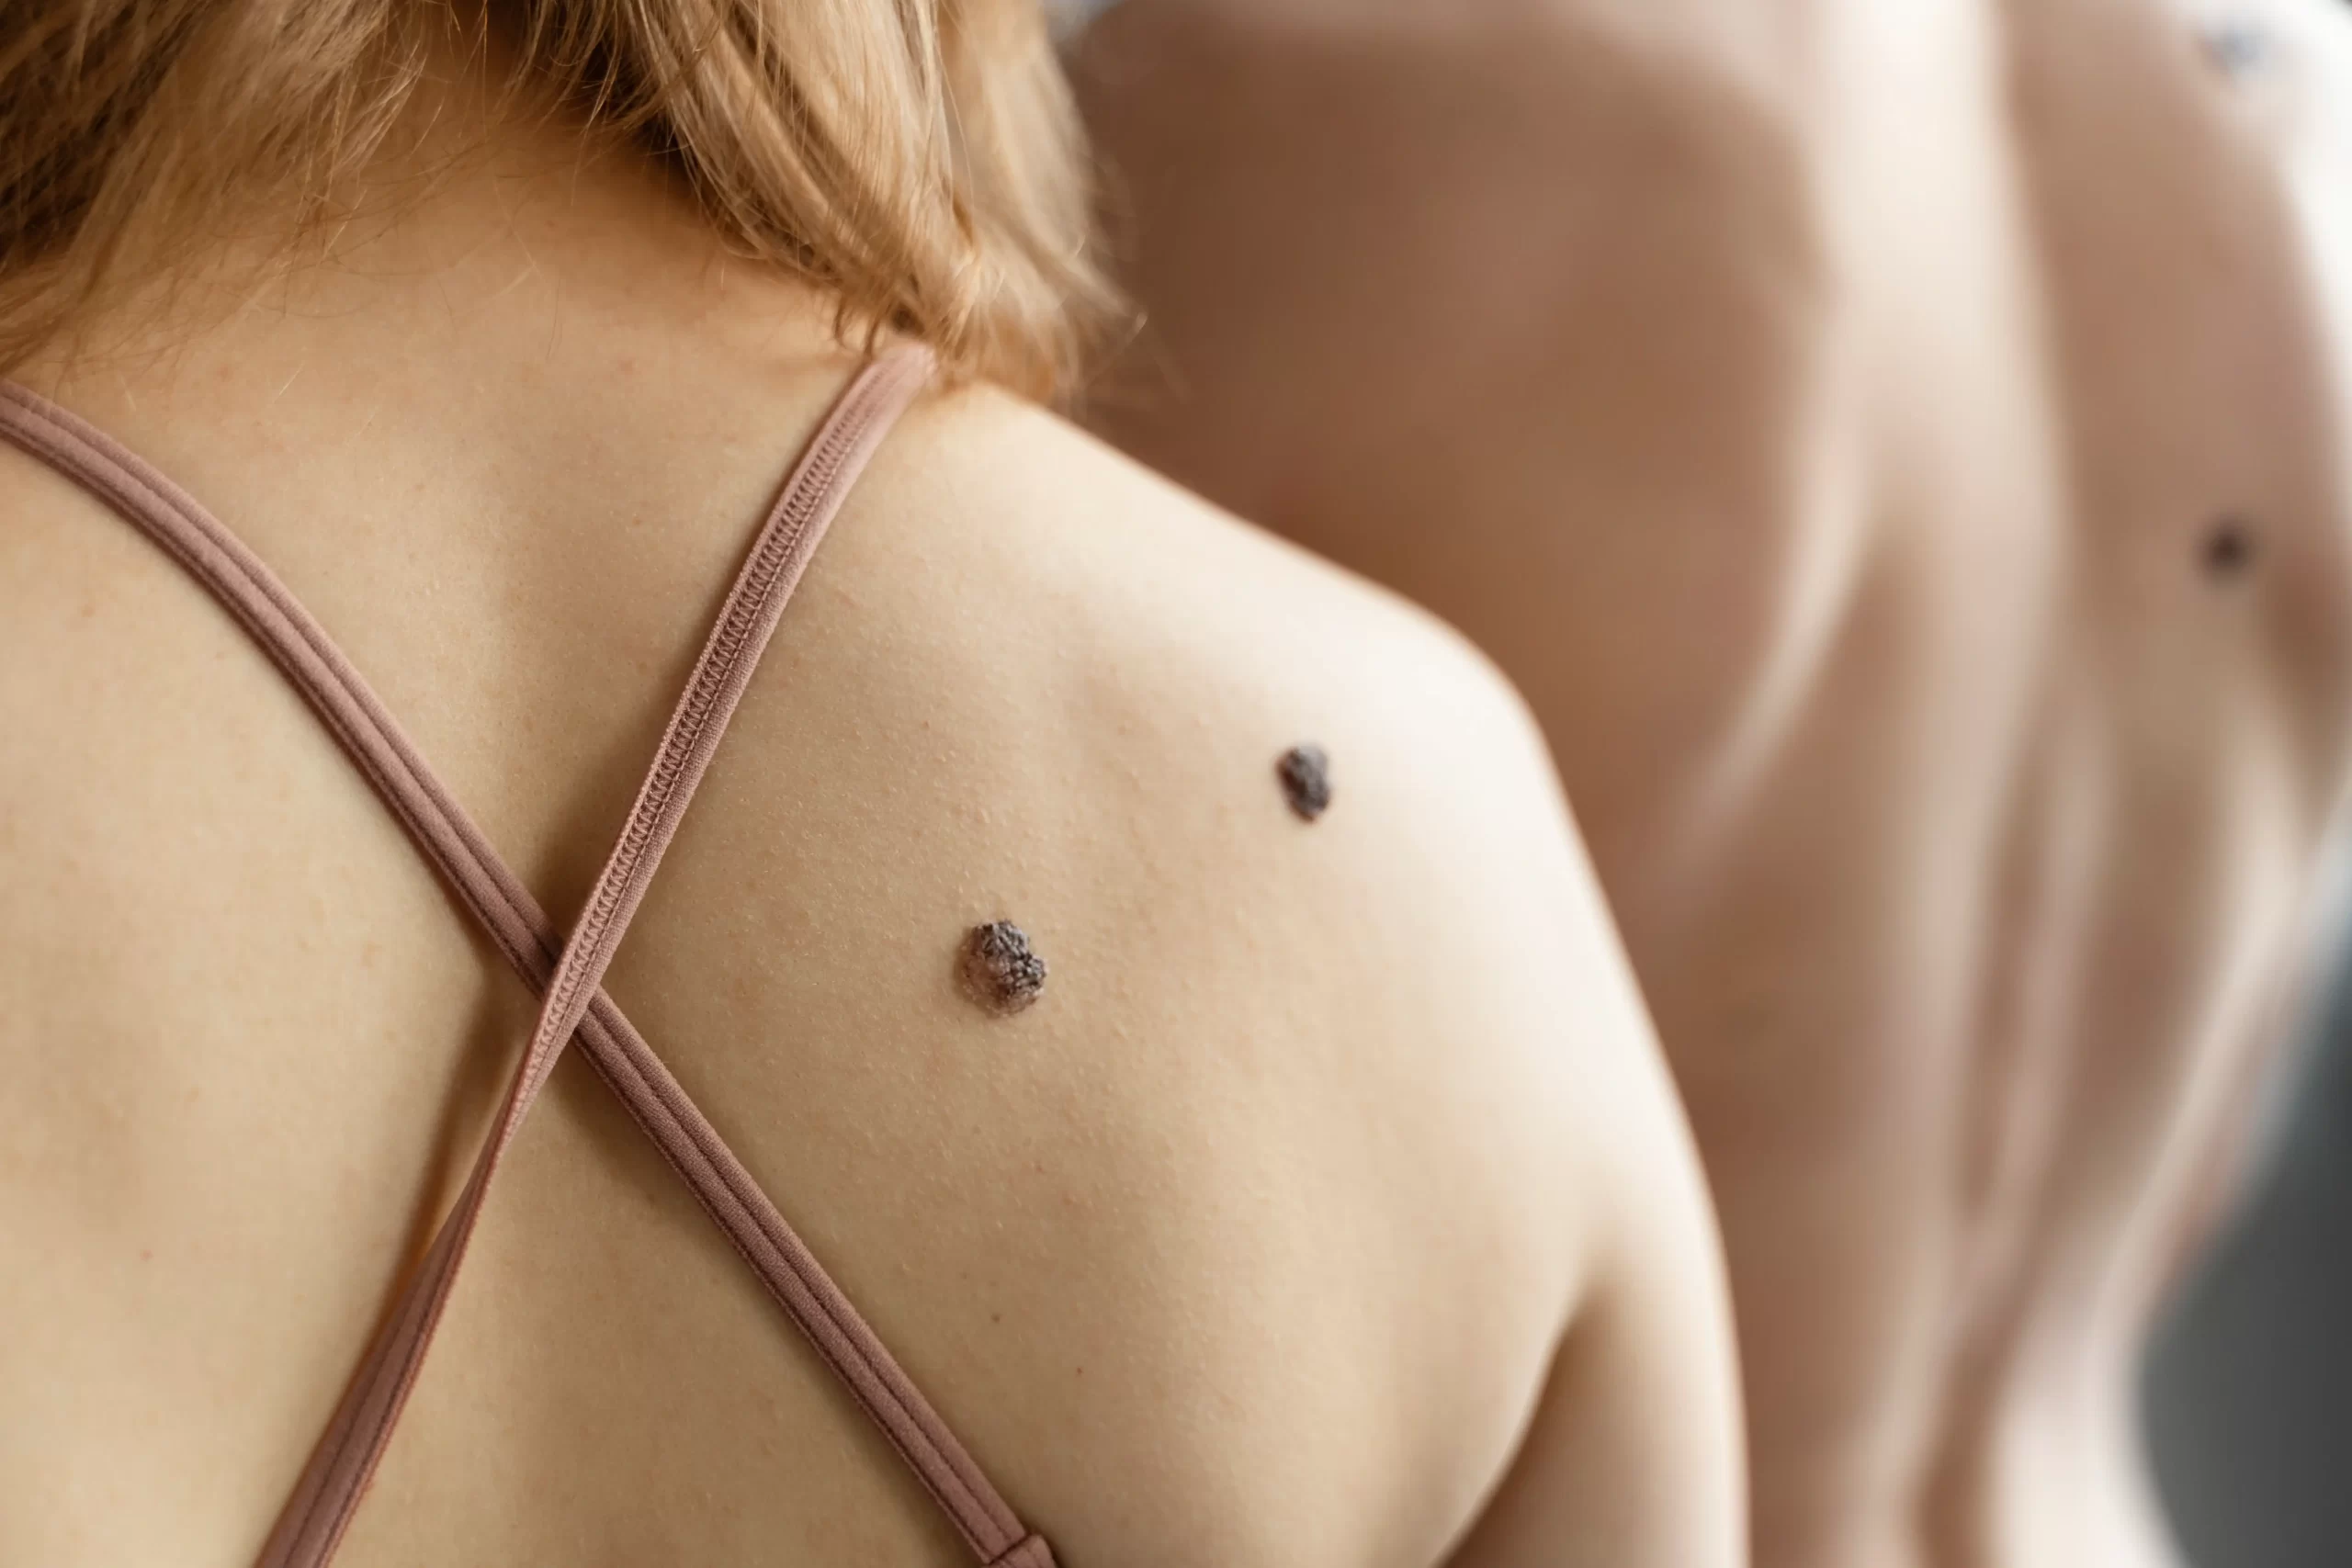
Skin tags, also known as acrochordons, are small, benign growths that often appear in body folds, such as the neck, underarms, groin, or breasts. They are usually soft and flesh-colored and hang from the skin like small balloons.
Who gets skin tags?
- Common in adults – About 25% of adults develop skin tags at some point.
- Caused by friction – Skin tags often form in areas where skin rubs against skin or clothing.
- Associated with certain factors – They are more likely to occur in people with obesity, diabetes, or a family history of skin tags. Hormonal changes during pregnancy can also play a role.
Although skin tags are harmless, many people have them removed for cosmetic reasons or sometimes because they get caught on clothing or jewelry, which can cause discomfort.
Common Remedies for Removing Skin Tags
Before we discuss overnight methods, let’s examine some traditional options for removing skin tags.
Over-the-counter treatments
Skin tag removal creams or patches can dissolve tags over time, but they often take weeks to show results.
Freezing kits (cryotherapy) are effective at removing skin tags but can sometimes be messy or painful.
These methods are effective but require patience — and not everyone wants to wait weeks for results.
Home remedies
Some people turn to natural methods for removing skin tags, such as:
- Apple cider vinegar: Known for its acidic properties in drying out tags.
- Tea tree oil: An antiseptic oil often applied to dry out skin tags.
- Dental floss or thread: Tying off the tag to cut off its blood supply can be painful and tricky if you do it yourself.
While these remedies can be effective, they are not always quick or guaranteed to work. For those looking for a fast, pain-free method, keep reading!
Skin Tag Removal Method in One Night
What if we told you there is a method to remove skin tags in just one night? This innovative method uses simple tools combined with a medical-grade solution that painlessly removes skin tags while you sleep.
The science behind it
The method works by isolating the skin tag, depriving it of blood flow, and accelerating the drying process with a proven, safe solution. This overnight treatment reduces risks and does not damage the surrounding skin. The science behind this method is fascinating and deserves further exploration. Skin tags, also known as acrochordons, are small, benign, and usually painless skin growths that often appear in areas where skin rubs against skin, such as the neck, armpits, eyelids, and groin.
These skin growths comprise collagen fibers and blood vessels surrounded by a thin layer of skin. Due to their structure, they can be easily removed without damaging the surrounding tissue.
Step-by-Step Guide to Removing Skin Tags Overnight
Step 1: Gather Your Supplies
You’ll need the following items for the one-night method:
- Medical-grade skin tag removal patches or bands (look for ones with a proven track record).
- Cleaning solution (such as alcohol wipes or mild antiseptic).
- Sterile cotton swabs.
- Small adhesive bandages (optional).
- Tweezers (optional).
Gathering all your supplies before starting any procedure is always a good idea. This will ensure that you have everything you need and won’t have to interrupt the process of searching for missing items.
Regarding skin tag removal, it’s important to use high-quality medical-grade patches or bands with a proven track record of successfully removing skin tags. These can usually be found at your local pharmacy or online.
Step 2: Clean the Area
Before applying the treatment, ensure the area around the skin tag is clean and dry to avoid infection. To prep the skin, use alcohol wipes or a gentle antiseptic.
Prepping the Skin
To properly clean the area, follow these simple steps:
- Wash your hands thoroughly with soap and warm water before touching the skin tag or surrounding area.
- Wash the skin tag and surrounding area with mild soap and warm water.
- Rinse the area and pat it dry with a clean towel.
- Use an alcohol wipe or a mild antiseptic to wipe the skin tag and surrounding area gently.
- Allow the area to air dry completely before proceeding with the treatment.
Step 3: Apply the Removal Patch or Band
- Carefully place the removal patch or band directly over the skin tag. These products are designed to apply pressure or a drying agent to the tag.
- Ensure the product is securely in place for at least 8–12 hours (overnight is ideal).
- Remove the patch or band in the morning and wash the affected area with warm water.
- Gently dry the skin tag and surrounding skin.
Possible Side Effects
- Some people may experience mild irritation or discomfort at the site of the skin tag after using a removal patch or band. This is typical and will go away in a few days.
- If you experience severe pain, redness, or swelling, discontinue use immediately and consult a healthcare professional.
Step 4: Monitor Overnight
While you sleep, the patch or band works magic by isolating the skin tag and beginning the detachment process. The natural ingredients in the product penetrate deep into the skin, breaking down the excess cells and gradually shrinking the tag until it eventually falls off.
Say Goodbye to Expensive Treatments
Gone are the days of expensive dermatologist appointments for skin tag removal. With overnight monitoring patches or bands, you can achieve results from the comfort of your home at a fraction of the cost. No more scheduling time off work or waiting months for an appointment – apply before bed and wake up to see visible changes.
Step 5: Remove and Clean Again
The next morning, remove the patch carefully and inspect the area. If your skin tags aren’t completely removed, don’t force it – reapply the treatment for another night. Clean the skin again to keep it bacteria-free.
Congratulations, you have successfully removed your skin tag! Now it’s time to focus on keeping the area clean and promoting healing. Here are some tips:
- Every day, gently wash the area with water and mild soap.
- Pat dry with a clean towel.
- To avoid infection, apply an antibacterial lotion or ointment.
- Avoid touching or picking at the area to prevent irritation and potential scarring.
It is also important to monitor the area for signs of infection, such as redness, swelling, or discharge. See a healthcare provider if you observe these signs for the right care.
Step 6: Aftercare
Once the tag is removed, keep the area clean and moisturized to aid healing. Avoid harsh skincare products for at least 48 hours. Instead, use moisturizers and cleansers that are mild and fragrance-free. Cover the area with a bandage or gauze to protect it from dirt and bacteria.
Make sure the region is dry and clean to avoid infection. Change the bandage daily and wash your hands before touching the area. If you experience any pain or irritation, consult your tattoo artist or a healthcare professional.
Aftercare also includes avoiding activities that may cause friction or excessive sweating on the newly tattooed area. This includes swimming, sauna, intense exercise, and wearing tight clothing.
Safety and Precautions
While the one-night method is generally safe, it’s unsuitable for everyone. Here’s what you need to know:
Who Should Avoid This Method?
- People with large or unusually shaped skin tags.
- Those with underlying skin conditions or allergies to adhesive products.
- Anyone unsure about the diagnosis of their skin tag (consult a dermatologist first).
This method may not suit everyone due to individual circumstances or preferences. While skin tag removal using natural remedies is generally safe, certain factors could make it less effective or even harmful for some individuals.
Possible Side Effects
- Mild redness or irritation is normal but should subside quickly.
- Always test products on a small skin patch before full application to minimize side effects.
- If an allergic reaction happens, stop using the product immediately and get help from a doctor.
- It is also important to follow the recommended usage instructions for each product. Overuse can lead to more severe side effects.
Tips for a positive experience
Here are some additional tips that can help you have a smooth and enjoyable experience with skincare products:
- Patch test before full application: As mentioned earlier, always patch test new products on a small area of skin before using them all over your face or body. This will give you an idea of how your skin will react to the ingredients in the product.
- Follow recommended usage instructions: Each skincare product comes with its instructions, such as how much product to use, how often to apply it, and how long to leave it on. It is important to follow these instructions for the best results and to avoid any potential side effects.
- Be patient: Skincare products take time to work magic, so don’t expect instant results. Be patient and consistent with your routine, and you will start seeing improvements over time.
Real-Life Success Stories
Before-and-After Experiences
- Sarah, 32: “I had a skin tag on my neck for years and finally decided to try the one-night method. It worked exactly as promised—wake up, and it’s gone!”
- Jessica, 45: “I can’t believe how easy and painless it was. I would recommend this method to anyone dealing with skin tags to see how to remove them in just one night.”
Photos and Transformation Stories
Many users have shared photos of their success with the one-night method, showcasing this treatment’s power to heal and boost confidence.
Say Goodbye to Skin Tags Tonight
The one-night removal method is a game-changer for anyone looking to quickly and painlessly eliminate skin tags. With proper preparation, timely application, and good aftercare, you can restore your skin’s smooth appearance and feel more confident in no time.
Why wait? If you have skin tags, try this one-night method to remove them and join the growing community of satisfied users who have restored their skin.
Have you tried this method or do you have tips of your own? Share your experience in the comments—we’d love to hear your success story! Let’s say goodbye to skin tags together.
Skin tags can be annoying because they make you feel uncomfortable and self-conscious, but you can remove them in just one night. This revolutionary approach has gained popularity for its effectiveness and ease of use.
To get started, it’s important to properly prepare the area by cleaning it thoroughly and using a numbing cream if desired. Next, follow the instructions carefully to apply the removal solution directly onto the skin tag. The solution works quickly to break down the skin tag tissue, allowing it to fall off within 24 hours easily.
FAQs
Q2: Are skin tags dangerous?
A: Skin tags are typically harmless and do not pose any health risks. However, some people may choose to remove them for cosmetic reasons or if they become irritated due to constant rubbing.
Q3: Is the one-night removal method safe?
A: The one-night removal method outlined in the article is generally safe for small skin tags. However, it's essential to ensure proper hygiene and disinfect the tools before use to minimize the risk of infection.
Q4: Can I perform this method on large or sensitive skin tags?
A: For large skin tags or those in sensitive areas, it is advisable to consult a healthcare professional for safe and appropriate removal.
Q5: What supplies do I need for the one-night removal method?
A: The supplies needed for this method include sterile scissors or nail clippers, cotton balls, rubbing alcohol, and a band-aid or medical tape.


